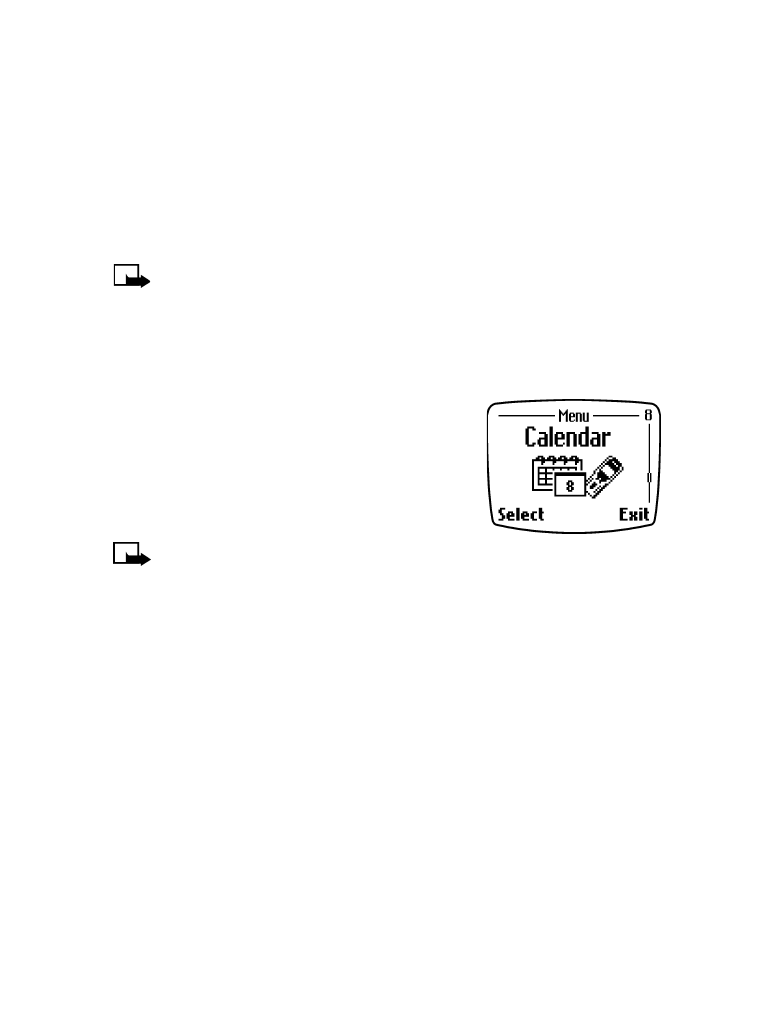
View the calendar
To view the calendar, press Menu 8 (Calendar). You may be prompted to
set the date and time.
•
Set the date using the mm/dd/yyyy format.
For example, if the date is May 31, 2002, enter 05312002. Existing
characters are overwritten.
•
Set the time using the mm:hh format.
For example, if the time is 7:00, enter 0700. Existing characters are
overwritten. If your phone is set to display the am/pm time format,
scroll to am or pm. Press OK.

[ 87 ]
Use your personal assistant
Move from day to day
•
Use the scroll keys to move through the calendar, OR...
•
Press Options, scroll to Go to date, and press Select. Enter the date,
and press OK.
Create a calendar note
This option lets you create a note with one of four categories: Reminder,
Call, Meeting, or Birthday. You can set an alarm for any calendar note.
1
Go to the day you want, and press Options.
2
Scroll to Make note, and press Select.
3
Scroll to the type of note you want to create (Reminder, Call, Meeting,
or Birthday). Press OK.
REMINDER
The Subject field appears.
1
Enter the information, and press OK. The current date appears.
•
If you want to change the date for this reminder, do so. Press OK.
•
If you do not want to change the date, press OK.
The message Set alarm for the note? appears.
2
To answer the Set alarm for the note? question, press Yes or No.
•
Press No to specify no alarm. Calendar note saved appears.
•
If you press Yes, the Alarm date field appears.
3
Enter the date on which you want the alarm to sound, and press OK.
The Alarm time field appears.
4
Enter the time when you want the alarm to sound. Use the hh:mm
format. Press OK.
5
Select either am or pm, and press OK.
The message Calendar note saved appears.
Note: Step 5 appears only if you have selected the am/pm
format.

[ 88 ]
CALL
The Number field appears.
1
Enter a number or press Search and find the number, then press OK.
The Date field appears.
2
Enter the date when you need to make this call, and press OK.
The Time field appears.
3
Enter the time when you need to make this call. Using the hh:mm
format. Press OK.
4
Select am or pm, and press OK. Set alarm for the note? appears.
Note: Step 4 appears only if you have selected the am/pm
format.
5
To answer the Set alarm for the note? question, press Yes or No.
•
If you don’t want to set an alarm, press No.
•
The message Calendar note saved appears.
•
If you press Yes, the Alarm date field appears.
6
Enter the date when you want the alarm to sound, and press OK.
The Alarm time field appears.
7
Enter the time (hh:mm format) for the alarm to sound. Press OK.
8
Select am or pm, and press OK. Calendar note saved appears.
Note: Step 8 appears only if you selected the am/pm format.
MEETING
The Subject field appears.
1
Enter the information, and press OK.
The current date appears. To use the current date, just press OK.
The Time field appears. You may enter a different date, and press OK.
2
Enter the time when you need to go to this meeting using the hh:mm
format. Press OK. Select am or pm. Press OK. Set alarm for the note?
appears.
Note: Step 2 appears only if you selected the am/pm format.

[ 89 ]
Use your personal assistant
3
Answer the Set alarm for the note? question, press Yes or No.
•
If you do not want to set an alarm, press No.
•
The message Calendar note saved appears.
•
If you press Yes, the Alarm date field appears.
4
Enter the date when you want the alarm to sound, and press OK.
The Alarm time field appears.
5
Enter the time when you want the alarm to sound. Use the hh:mm
format. Press OK.
6
Select either am or pm, and press OK.
Note: Step 6 appears only if you selected the am/pm format.
The message Calendar note saved appears.
BIRTHDAY
The Name field appears.
1
Enter the name of the person having a birthday, and press OK.
The Date field appears.
2
Enter the month and day of the person’s birthday, and press OK.
The Year of birth field appears.
3
Enter the year using the yyyy format. Press OK. Set alarm for the
note? appears.
4
Press Yes or No.
•
If you don’t set an alarm, Calendar note saved appears.
•
If you press Yes, the Alarm date field appears.
5
Enter the date when you want the alarm to sound, and press OK.
The Alarm time field appears.
6
Enter the time for the alarm to sound. Use hh:mm format. Press OK.
7
Select either am or pm, and press OK. Calendar note saved appears.
Note: Step 7 appears only if you selected the am/pm format.

[ 90 ]
View the day’s notes
To view your notes for a given day, display that day in the calendar.
1
Press Options.
2
Scroll to View day notes.
3
Press Select.
If you have more than one note for the day, scroll the list. You have several
Options:
•
Erase - Erase the note.
•
Edit - Edit the note.
•
Move - Move the note to a different date.
View all notes
To view all notes in your calendar, press Options. Scroll to View all notes.
Press Select. If your calendar has more than one note, scroll the list.
Erase notes
You must choose which notes to erase. Select from these erase options:
ERASE THE NOTE YOU’RE VIEWING
Press Options. Scroll to Erase. Press OK.
ERASE THE NOTES FOR A GIVEN DAY
While viewing the day in your calendar, press Options. Scroll to Erase
notes and press Select. Scroll to Of chosen day, and press OK. Scroll the
list of notes. When a note you want to erase appears, press Erase.
ERASE ONE NOTE AT A TIME FOR EACH NOTE IN YOUR CALENDAR
While viewing any day in your calendar, press Options. Scroll to Erase
notes. Press Select. Scroll to One by one., and press OK. Scroll the list of
notes. When a note you want to erase appears, press Erase.

[ 91 ]
Use your personal assistant
ERASE ALL NOTES IN YOUR CALENDAR
To erase all notes in your calendar while viewing any day in your calendar:
1
Press Options.
2
Scroll to Erase notes.
3
Press Select.
4
Scroll to All at once, and press OK.
When a calendar alarm goes off
•
To shut off the alarm, press OK.
•
To shut off the alarm for 10 minutes, press Postpone. The alarm can
be postponed 10-minute increments for up to 90 minutes.
Set the calendar date
1
Press Options.
2
Scroll to Set the date.
3
Press Select.
4
Enter the date using the mm/dd/yyyy format.
For example, if the date is May 31, 2002, enter 05312002. Existing
characters are overwritten.
5
Press OK.